
Building Simple 3D Paper Sculptures of Local Houses
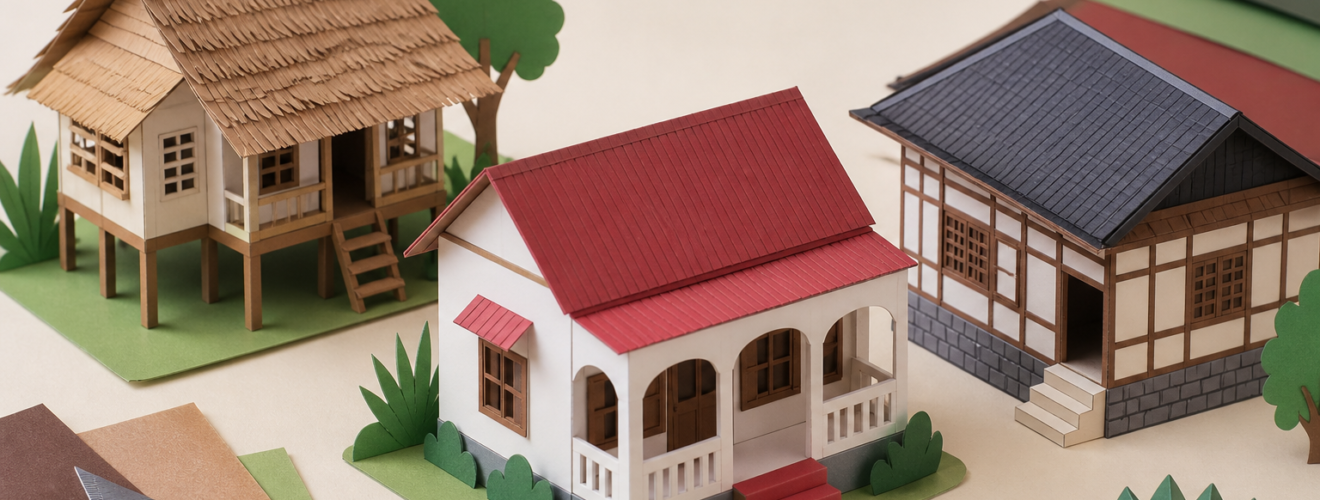
Architectural modeling has long served as a primary tool for understanding the built environment. While digital software allows for complex renderings, the tactile nature of paper modeling offers a unique form of spatial insight. Building three-dimensional paper sculptures of local houses is an accessible way to study design. This process helps students and enthusiasts observe the specific details of their own neighborhoods. By using simple materials, one can recreate the forms that define a local area. This article discusses the methods used to turn flat paper into a structural representation of a home. We will focus on the steps of documentation, drafting, and final assembly. Through this practice, the modeler gains a deeper appreciation for the logic of residential architecture.
The study of local houses, often called vernacular architecture, provides a window into a community’s history. Every roof line and window placement tells a story about the local climate and culture. When we build models of these structures, we engage in a form of physical analysis. Paper is an ideal medium for this task because it is flexible yet strong enough to hold its shape. It allows the creator to focus on the essential volumes of a building without the distraction of complex textures. By stripping a house down to its basic planes, we see the relationship between its different parts. This clarity is the main goal of architectural sculpture. It turns a large, complex object into something that can be held and examined from every angle.
Essential Materials and Tools
To begin the modeling process, one must select the right materials to ensure structural stability. The most common choice is cardstock or heavy paper, which offers the necessary stiffness for vertical walls. A weight between 200 and 300 grams per square meter is usually best for small-scale projects. This thickness allows for clean folds without the risk of the paper tearing. In addition to the paper, a sharp craft knife is vital for making precise cuts. Using a dull blade can snag the fibers and create rough edges. A metal ruler should be used as a guide to keep every cut straight and accurate. These simple tools form the foundation of a professional-looking paper model.
The choice of adhesive is also a key factor in the success of the sculpture. Quick-drying white glue or a high-quality glue stick works well for most paper types. It is important to apply the glue sparingly to avoid warping the paper with excess moisture. For more complex joints, some modelers prefer double-sided tape because it provides an instant bond. Beyond the glue, a cutting mat is necessary to protect the work surface and help the knife glide smoothly. Finally, a stylus or a spent ballpoint pen can be used for scoring the paper. Scoring involves making a shallow indentation along a line to make folding easier and more precise. These tools together allow for a clean and efficient workflow.
The Documentation and Surveying Phase
Before cutting any paper, the modeler must gather accurate information about the house. This phase involves taking clear photographs of the front, back, and sides of the building. These views are known as elevations. It is helpful to take these photos from a distance to minimize the distortion caused by a wide-angle lens. If possible, one should also measure the basic dimensions of the house using a tape measure or by counting bricks. Knowing the height and width of the walls helps in creating a model that is true to scale. This data serves as the blueprint for the entire project. Without good documentation, the final model may look out of proportion.
Sketching the house on paper is another helpful step during the survey. A quick drawing allows the modeler to note small details like the overhang of the roof or the depth of the porch. It is during this stage that one decides which details to include and which to simplify. For a simple 3D sculpture, it is often best to focus on the primary shapes. Small decorative elements can be added later as separate pieces or drawn directly onto the paper. The goal is to capture the character of the house through its most recognizable features. Once the sketches and photos are complete, the transition from 3D reality to 2D drafting can begin.
Drafting the Template and Net
The most technical part of the process is creating the “net” or the flat layout of the house. A net is a 2D shape that, when folded, forms a 3D object. To create a net for a house, one must lay out the four main walls in a single row. Each wall is connected to the next at the corners. It is essential to include small tabs along the edges where the walls will meet. These tabs provide a surface for the glue and hold the structure together. The roof is usually drafted as a separate piece to make the assembly easier. Using a pencil and a ruler, the modeler draws these shapes onto the cardstock based on the measurements taken earlier.
Accuracy during drafting is vital for a clean finish. If one wall is even slightly taller than the others, the roof will not sit flat. One should check that all vertical lines are parallel and all horizontal lines are level. This stage is also the best time to mark the locations of windows and doors. Some modelers choose to cut these openings out to create a sense of depth, while others simply draw them on. If the house has a complex shape, such as an L-shaped floor plan, the net may need to be broken into several parts. This modular approach makes the final assembly more manageable and reduces the risk of errors. Once the layout is checked for accuracy, the cutting can proceed.
Assembly and Structural Logic
Assembly begins with scoring all the lines that will be folded. Using a ruler and a stylus, one applies light pressure along the fold lines. This breaks the tension in the paper fibers, allowing for a sharp, crisp edge. After scoring, the modeler cuts out the entire net along the solid outer lines. It is helpful to fold the paper along the scored lines before applying any glue to ensure everything fits. This “dry fit” stage allows for any final adjustments. When ready, the glue is applied to the tabs one at a time. It is best to start with the main walls and work toward the smaller details. Holding each joint for a few seconds ensures a strong bond.
The roof is typically the final piece to be attached. Because the roof often overhangs the walls, it can be tricky to align perfectly. It is helpful to glue one side of the roof first, let it dry, and then secure the other side. This prevent the paper from shifting out of place. For houses with chimneys or dormer windows, these small components should be built separately and attached at the very end. The weight of the roof helps to stabilize the entire structure. Once the glue is fully dry, the model is quite sturdy. The result is a clean, white sculpture that highlights the architectural form of the local home. This physical object provides a sense of satisfaction that a digital image cannot match.
Conclusion and Educational Value
Building 3D paper models of local houses is more than just a craft. it is a way of seeing. It requires the builder to look closely at the world and translate those observations into a tangible form. This process improves spatial reasoning and hand-eye coordination. In an educational setting, it teaches students about the history of their town and the basics of geometry. For the hobbyist, it is a rewarding way to document the places that matter to them. These simple sculptures serve as a bridge between the art of paper craft and the science of architecture. By using just a few tools and a bit of patience, anyone can create a meaningful tribute to the buildings that make a neighborhood unique.
Sources
Ching, F. D. K. (2014). Architecture: Form, Space, and Order. Wiley.
Pallasmaa, J. (2012). The Thinking Hand: Existential and Embodied Wisdom in Architecture. John Wiley and Sons.
Unwin, S. (2020). Analysing Architecture. Routledge.
Wyatt, G. (2007). Paper Engineering: Fold, Pull, Pop and Turn. Rotovision.